 |
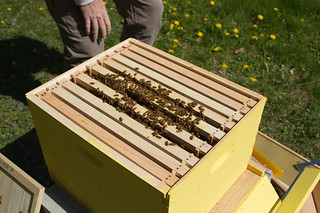
| Looking good. |
The space left between two of the frames when I put in the queen cage caused the bees to make what is called burr comb, which is just comb that ideally they would put on the foundation but since the space is there they just build it out. So understanding that it needs to come out, on I went.
 |
| The second frame containing burr comb. |
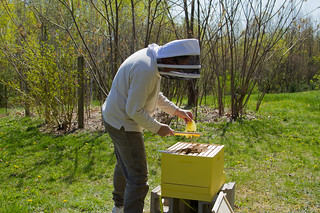 |
| Look closely and you’ll see bees falling back into the box. |
Pulled one of the frames with the burr comb, took the hive tool and a deep breath and scraped it off. The big chunk of wax, covered in bees, falls onto the top of the other frames. Picked up the wax and brushed the bees off of it and back into the box. Did the same for the other big piece. I now understand the importance of keeping the frames tightly together.
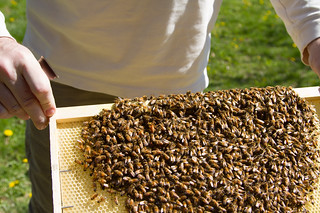
That was a lot easier than I was anticipating! Don’t know why I haven’t been stung yet, just pretty laid-back bees I guess. Now I have my first genuine honeycomb and that task is complete.
 |
| Honeycomb. |
And we found the queen among all the bees!
 |
| In the upper-left, she’s the one with the yellow dot of paint. |
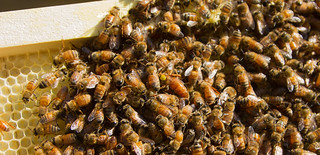 |
| The queen. |
Unfortunately, in the excitement of finding the queen, I forgot all about looking closely at the comb to see if there are any eggs. The hive is closed up so that check will have to wait for next weekend when I add the second super to the hive.
More pictures are at my Beek set up on Flickr.
No comments:
Post a Comment